Cost:
$120
Time:
3 hours
Skill:
Intermediate
map Project Overview
stars Features
-
Beginner-Friendly Setup: A step-by-step guide to setting up your Raspberry Pi, including installing the operating system and connecting peripherals like a keyboard, mouse, and monitor.
-
Introduction to Python: Learn the basics of Python, one of the most popular programming languages, through simple and engaging examples. Start with writing basic scripts and gradually progress to more complex programs.
-
Hands-On Projects: Build practical projects such as blinking LEDs, controlling motors, and creating simple games. These projects are designed to reinforce programming concepts and provide real-world applications.
-
Exploring GPIO Pins: Discover how to interact with the Raspberry Pi's General Purpose Input/Output (GPIO) pins. Use them to connect sensors, lights, and other electronic components, bringing your code to life.
-
Remote Coding: Learn how to access your Raspberry Pi remotely from another computer, allowing you to code and control your projects from anywhere in your home.
-
Expanding Your Skills: Get introduced to other programming languages and tools available on the Raspberry Pi, such as Scratch, a visual programming language, and the command line interface for more advanced tasks.
-
Community and Resources: Access a wealth of online resources, tutorials, and community support to help you continue learning and troubleshooting as you advance in your coding journey.
description Bill of Materials
- Raspberry Pi: $100
- Cables: $20
- SD Card: $30
gesture Assembly
- Format the memory card and user Raspberry Pi Official Imager to burn the OS image on to it.
- Insert the card into Raspberry Pi.
- Connect power, keyboard, mouse and display with appropriate cables.
- Login with credentials.
electrical_services Wiring
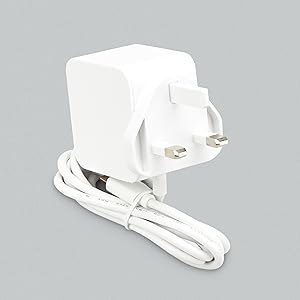
- Power connection to Raspberry Pi.
- HDMI connection from Raspberry Pi to chosen monitor.
- Connect Mouse and Keyboard as well.


